Maintaining a car is an inevitable task, involving routine activities like oil changes, filter replacements, and tire servicing. Among these tasks, one of the more intricate light maintenance jobs involves the brakes.
Brake pads naturally degrade over time, and the rate of this wear depends on various factors such as your driving habits and the kind of brake pads your car uses. Mastering the art of changing brake pads is often the first significant do-it-yourself challenge for many drivers. Fortunately, it’s not as daunting as it might seem. With a bit of patience and the right tools, you can tackle this task head-on. Here’s an overview of the job, but we recommend Haynes manuals for a detailed guide specific to your vehicle
What tools do you need to replace brake pads?
Before diving into the task, it’s important to organize the necessary tools, categorized by different stages of the job. The process involves lifting and securing the car, removing the wheel, taking off the caliper, replacing the pads, and reassembling everything. Here’s a breakdown of the tools you’ll need:
- Lifting the Car: A reliable car jack and a set of jack stands are essential. These can be purchased at a reasonable price. Don’t forget to include a few wheel chocks for added safety.
- Removing the Wheel: You’ll need a sturdy socket wrench set for this part. It’s also wise to have a breaker bar on hand, just in case some lug nuts are particularly stubborn.
- Removing the Brake Caliper: Brake calipers are typically secured with two bolts. In most cases, a regular socket wrench will do the trick for removing these. However, be aware that some manufacturers opt for Torx bolts instead, so having a comprehensive tool kit is beneficial here.
For the remaining steps in replacing the brake pads, the same tools as above will be sufficient. Now, let’s begin with the first step.
Lifting and Securing the Car
In this tutorial, we’re focusing on changing the front brake pads. Start by parking your car on a level surface. First, use the breaker bar to loosen the lug nuts on the wheel you’re working on. It’s easier to loosen the nuts with the car’s full weight on the wheel. Once the lug nuts are loose, use wheel chocks on the rear wheels to prevent the car from rolling while it’s being lifted.
When it comes to lifting the car, you have two options: lift one side at a time using a small jack or use a larger jack to lift the entire front end. The second option is often more convenient, especially since you’ll likely be replacing pads on both sides.
Proceed to jack up the car. Then, carefully position your jack stands under appropriate, sturdy parts of the car’s frame or designated lift points. Avoid placing them under the floorboard as this could cause damage. Once the jack stands are securely in place, slowly lower the jack, allowing the car to rest on the stands.
Removing the wheel
Once the car is securely lifted, finish unscrewing the lug nuts and remove the wheel. As an extra precaution, it’s a good idea to place the removed wheel under the car. This adds an additional safety measure in the unlikely event that the car shifts or the jack stands fail.
With the wheel off, you’ll see the brake rotor and the caliper positioned over it. Take a moment to examine the caliper and locate the bolts that hold the caliper bracket to the rest of the assembly.
Here’s a helpful tip: turn the steering wheel to improve your access to these bolts. This adjustment can make reaching and removing the caliper bolts significantly easier.
Remove the Caliper
When it comes to removing the caliper, there are two common approaches. One method involves removing the entire caliper, while the other requires unfastening just one bolt.
The strategy of removing only one bolt allows you to swing the caliper open around the still-attached bolt, being careful not to strain the brake line. If you choose to remove the entire caliper, ensure you have a place to securely set it down or use a zip tie to attach it to a spring, preventing any kinking of the brake line.
Although typically only two bolts need to be removed to open the caliper, this can sometimes be challenging. Environmental factors like dirt and debris often cause bolts to seize. Applying penetrating oil can help loosen them, but be cautious to avoid getting any on the rotor. If the bolts are particularly stubborn, use the breaker bar, which helped with the lug nuts, to provide the extra leverage needed to loosen the caliper bolts.
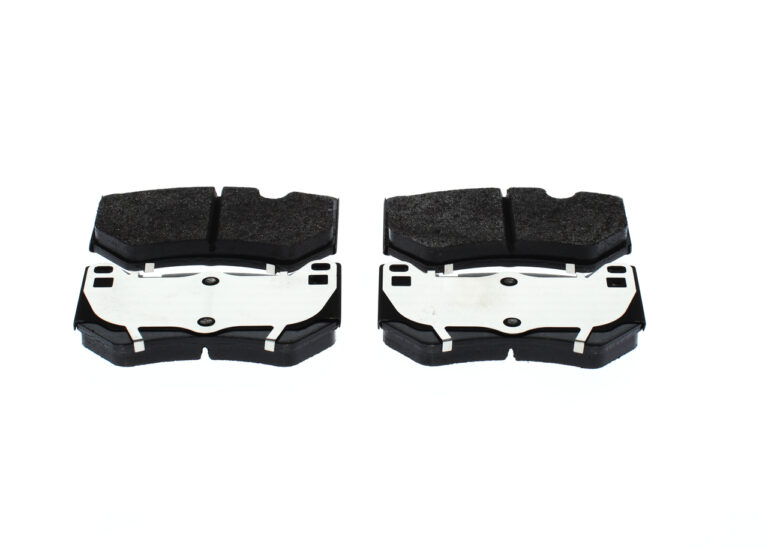
Replace the Brake Pads
After removing the caliper, the next step is to take out the brake pads. These are usually secured by clips and can be gently worked free, typically requiring minimal force. Carefully replace the old pads with new ones, ensuring they are oriented correctly.
It’s also important to replace any additional hardware, like brake clips and backing plates. If needed, apply anti-seize paste to the backing plates before reassembling.
A crucial tip for reassembling: when tightening bolts, adhere to the correct torque specifications. Over-tightening bolts can lead to problems that are best avoided. Consult your vehicle’s owner’s manual for the precise torque specifications for your specific model. This step is important to ensure everything is reassembled safely and correctly.
Which Brake Pads are Best?
Among the numerous brake system manufacturers, Brembo stands out as one of the top choices. Their range of brake pads, including NAO, Low-Met, and standard ceramic options, provides enhanced braking performance, superior heat management, and reduced pad wear. Often, Brembo’s pads surpass original equipment (OE) quality and are on par with other leading brake manufacturers in the industry.
Finish the job
Now that you’ve installed the new brake pads, reattached the brake caliper, and remounted the wheel, it’s time to lower the car back to the ground. A few final steps remain. Begin by checking the brake fluid level. As brake pads wear down, the fluid level often decreases because the piston needs to extend further for effective braking. After installing new pads, it’s important to refill the brake fluid if needed.
Finally, take your car for a test drive to assess the performance of your newly installed brakes. This is an essential step to ensure everything is working smoothly and safely.